withsteps.com

First step: find and follow the right steps

How to show the extension of files in Windows 8

By default, Windows 8 (same as older Windows versions) doesn’t show the files extensions of known file types. The file extensions are that short code at the end of each file that express what the type of the file and is used to manage how or which software should be used to open those files. For example, .mp3 shows a well known audio extension and is open with a audio player like Windows Media Player… also .pdf is a portable document file that is usually opened with Adobe Reader.

If you want that your Windows 8 to show this extensions of your files then:

1. Browse to a computer folder. Click on View tab. Go to Options and click on Change Folder and Search Option.

2. From the new Windows, select View tab. Deselect the “Hide extensions for known file types” option and click OK.

All your folders will show now all files extensions.

Installing Windows 8 on a older device (PC/Laptop…)

Installing the brand new Windows 8 is pretty easy and actually, pretty beautiful. I think if you are able to install a game or a software, then you are also able to install your Windows 8.

This post will follow the most important steps and will explain how I configured my computer in order to have a brand new Windows 8 operating system.

The system info:

  • Device: SONY VAIO laptop (2GB RAM, Intel Core 2 Duo 2GHz)
  • OS: Windows 8 Professional
  • Installed using USB device (Boot from USB)
  • Previous OS: Windows 7 Professional

The steps for a brand new OS are the following:

1. Backup all your data to an external drive (if you have multiple partitions, only C: may be affected and you can backup only your C: drive but still so, its hardly recommended to backup all your data).

2. Configure your computer to boot from the device used for the installation. You can use a optical disk (DVD) or a USB memory. See here how to configure a USB device to be used for installing Windows 8. If needed go to BIOS and enable boot from USB.

3. Restart you computer (insert your disk or USB) and boot for the Windows 8 installation. First, select your language for the installation and then select Install Now.

4. Typer your serila key

5. Select your type of installation. You can upgrade or you can select (Custom) a new installation. Installing the brand new Windows 8 implies a format to C: drive. I chooses Custom in order to be able to modify my partitions.

6. Configure your hard disk drive for the installation. In my case I have a 200 GB HDD with 2 partitions and Windows 7 already installed. Therefore, my HDD (Drive 0) contains Partition 1 used to store the recovery tools from SONY, Partition 2 as Windows 7 reserved and Partitions 3 and 4 as my formal C: and D:

Using drive options, the partitions can be changed and reconfigured for Windows 8. Be aware that you will lose your data if you modify your partitions. Also, Windows 8 requires 350MB for the System reserved partition. In my case I reconfigured all of my partitions. Here you will see how I configured my HDD:

7. That was the hardest part. Now just wait to install Windows 8 and follow the instructions.

Different messages will appear like “Getting devices ready” and your computer will restart. At this restart point be sure you will no longer boot from the installation device (USB/Disk).

8. Get ready with your Windows 8 customization.

At the end … enjoy your brand new Windows 8!

How to use SONY VAIO Recovery tools

Having a PC problem is not very nice. While user experience is very important for PC/Laptops/Netbooks customers, Sony came with a couple of tools that come in handy when a system/os problem occurs. This tools are usually used to diagnose system errors, backup and recover data, to recover Sony preinstalled software and drivers or to recover the entire VAIO to its original settings. Usual, this tools are found under a software called “VAIO Recovery Center” for older VAIO models and “VAIO Care” for newer.

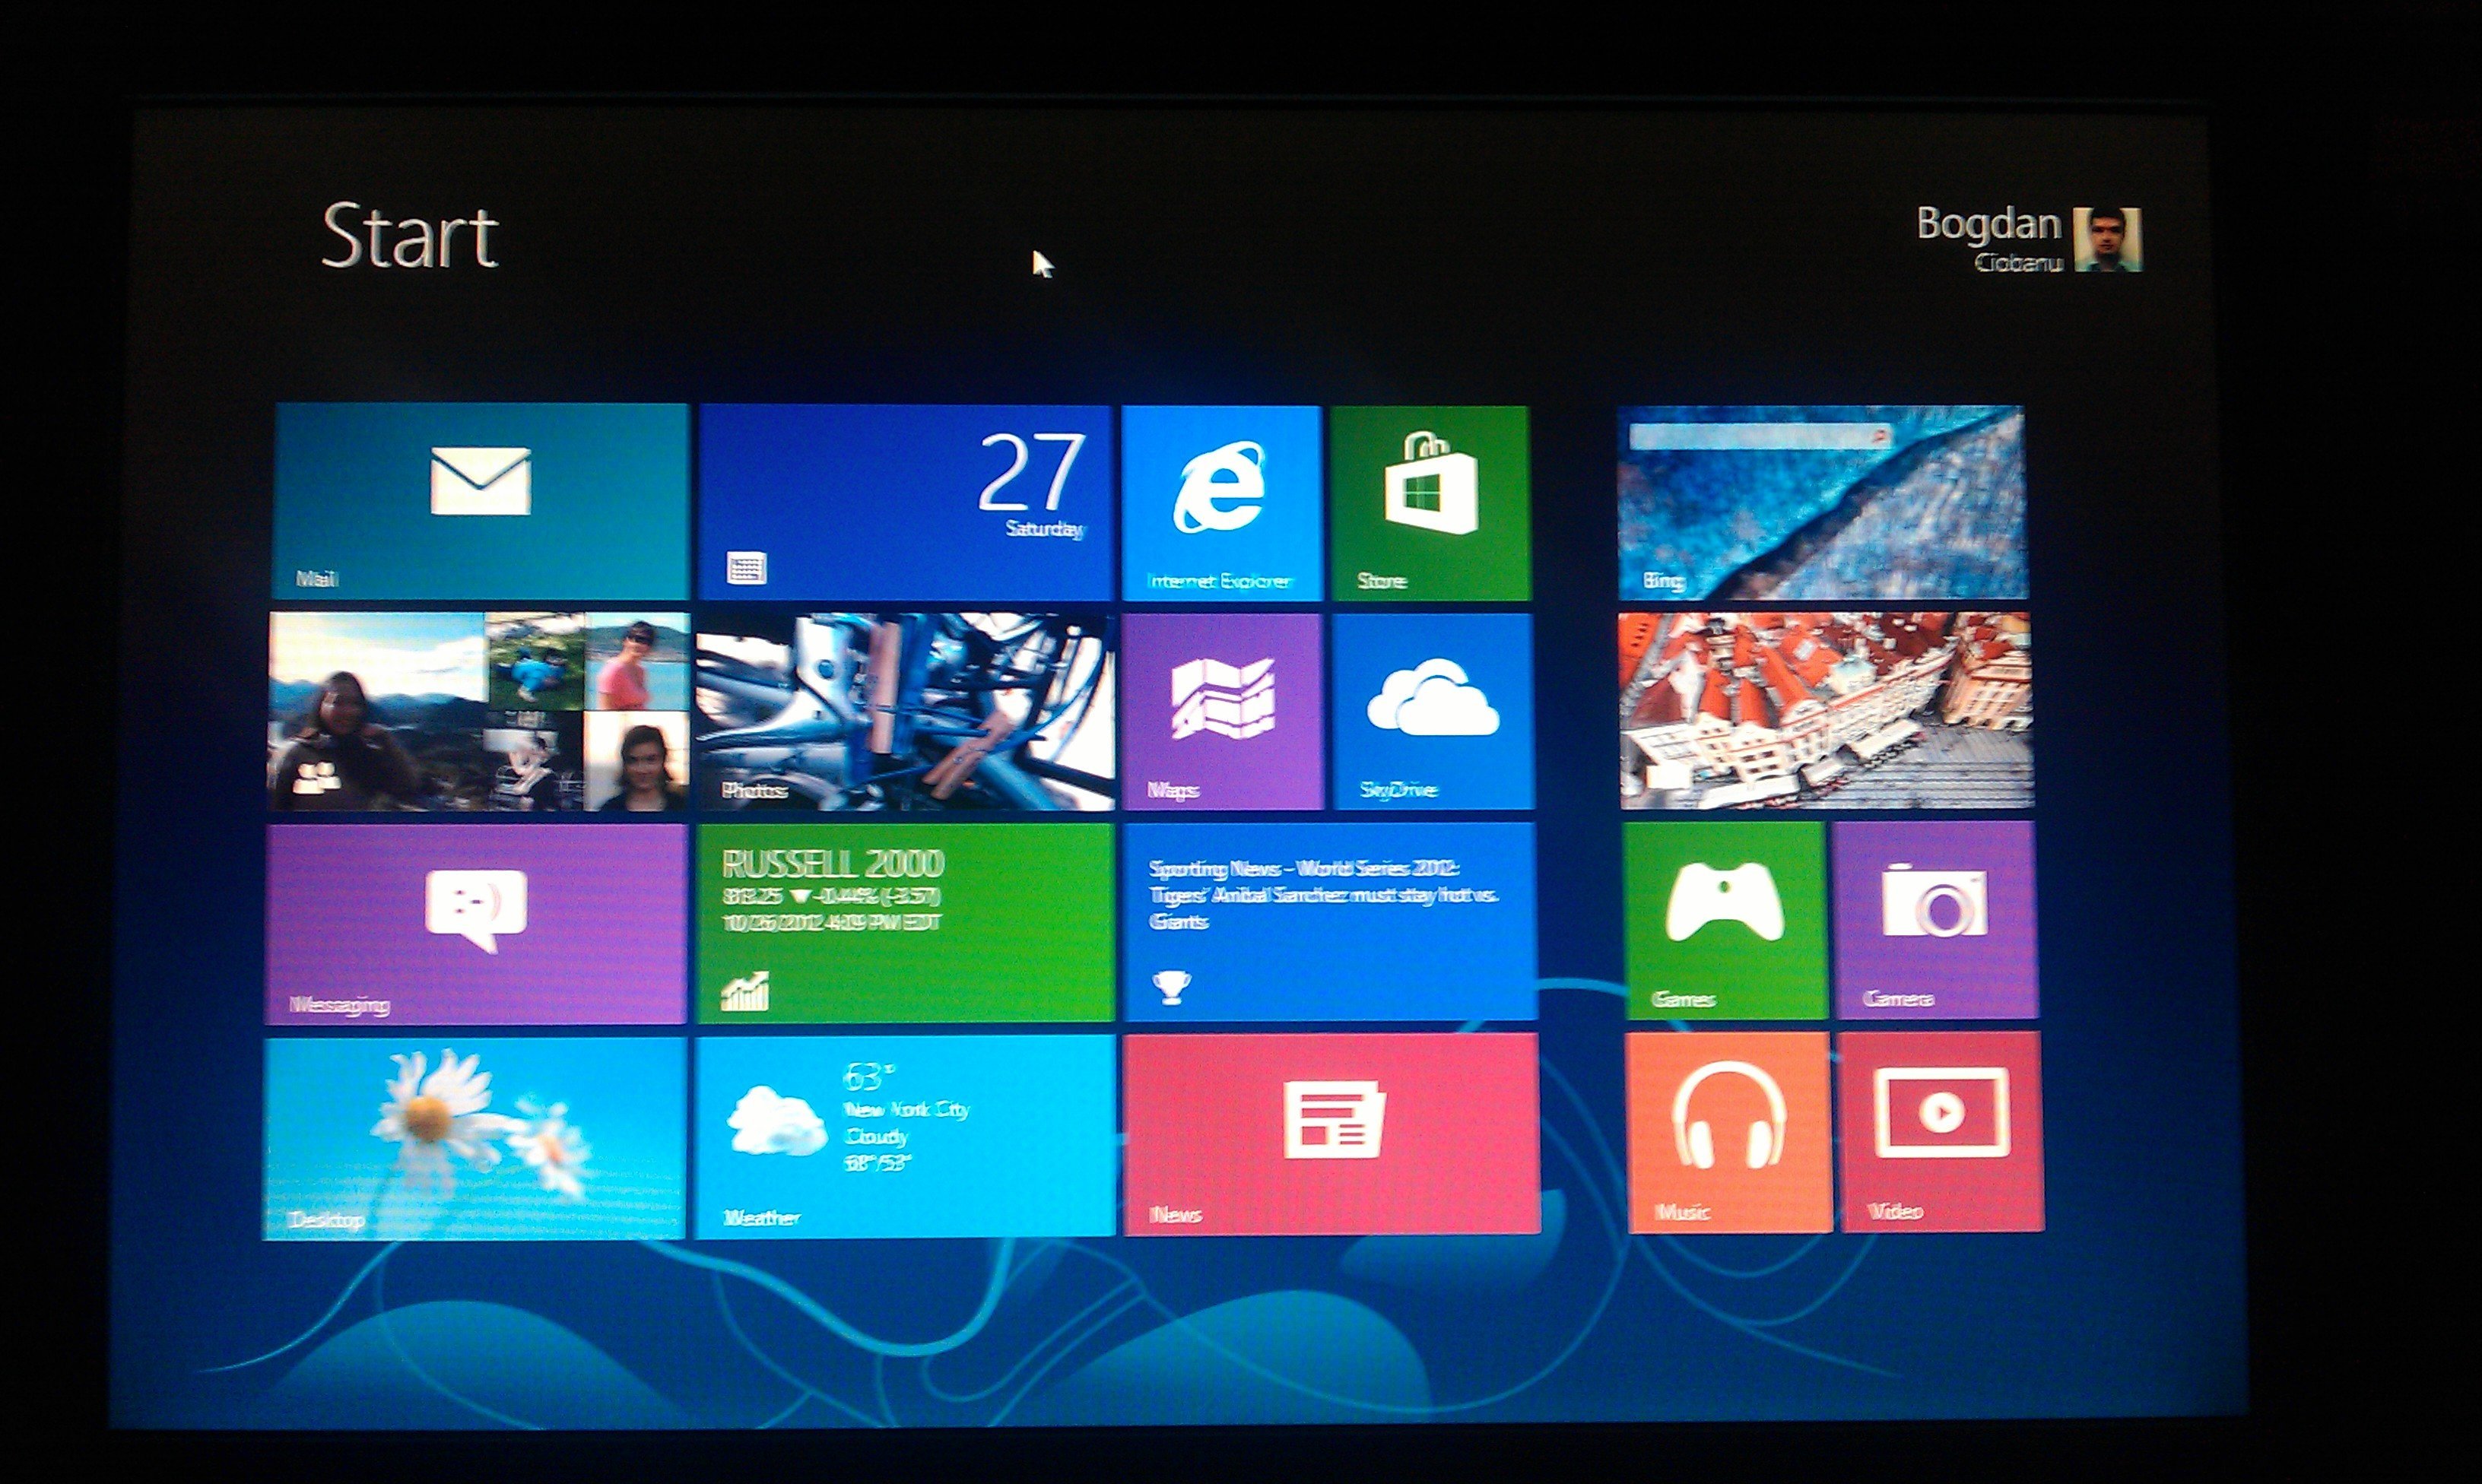
But … what can be done when your VAIO can not load Windows?

Then the first option is is using recovery disks (DVDs). Your computer does not include those disks in the package but you can create them very easy (and this is recommended for all of you, VAIO users) -here is a tutorial on how to create VAIO recovery disks. If is to late and you can’t create them then you can phone SONY and get a copy of your disks but you have to pay for that. Be aware that this disks can not be used for multiple computer even if those are the same model.

A second option to recover your VAIO is using the build in recovery tools. To access the recovery tools from a SONY VAIO, the default key is F10. Immediately after you turn on your VAIO press F10 key. You may need to press it a couple of time while you see the first VAIO logo after you start your computer. This will ask you to boot from a different sector than normal one used to boot into your Windows or will enter directly to your recovery tools.

After a small waiting period, the VAIO Recovery Center will be launched.

Here you can:

1. Windows System Restore

System restore will restore your program files to a predefined restore point. Restore points are points in time, which may be changed by the user in System Properties. Under normal conditions, this program should not affect your personal files.

2. VAIO Hardware Diagnostics

The VAIO Hardware Diagnostics is a utility program that helps you to determine if your VAIO’s problem is related to your hardware or not. Computer problems can be caused by a number of factors including the hardware itself. Software installed on your VAIO or its settings could be the cause as well.

3. Restore C: drive

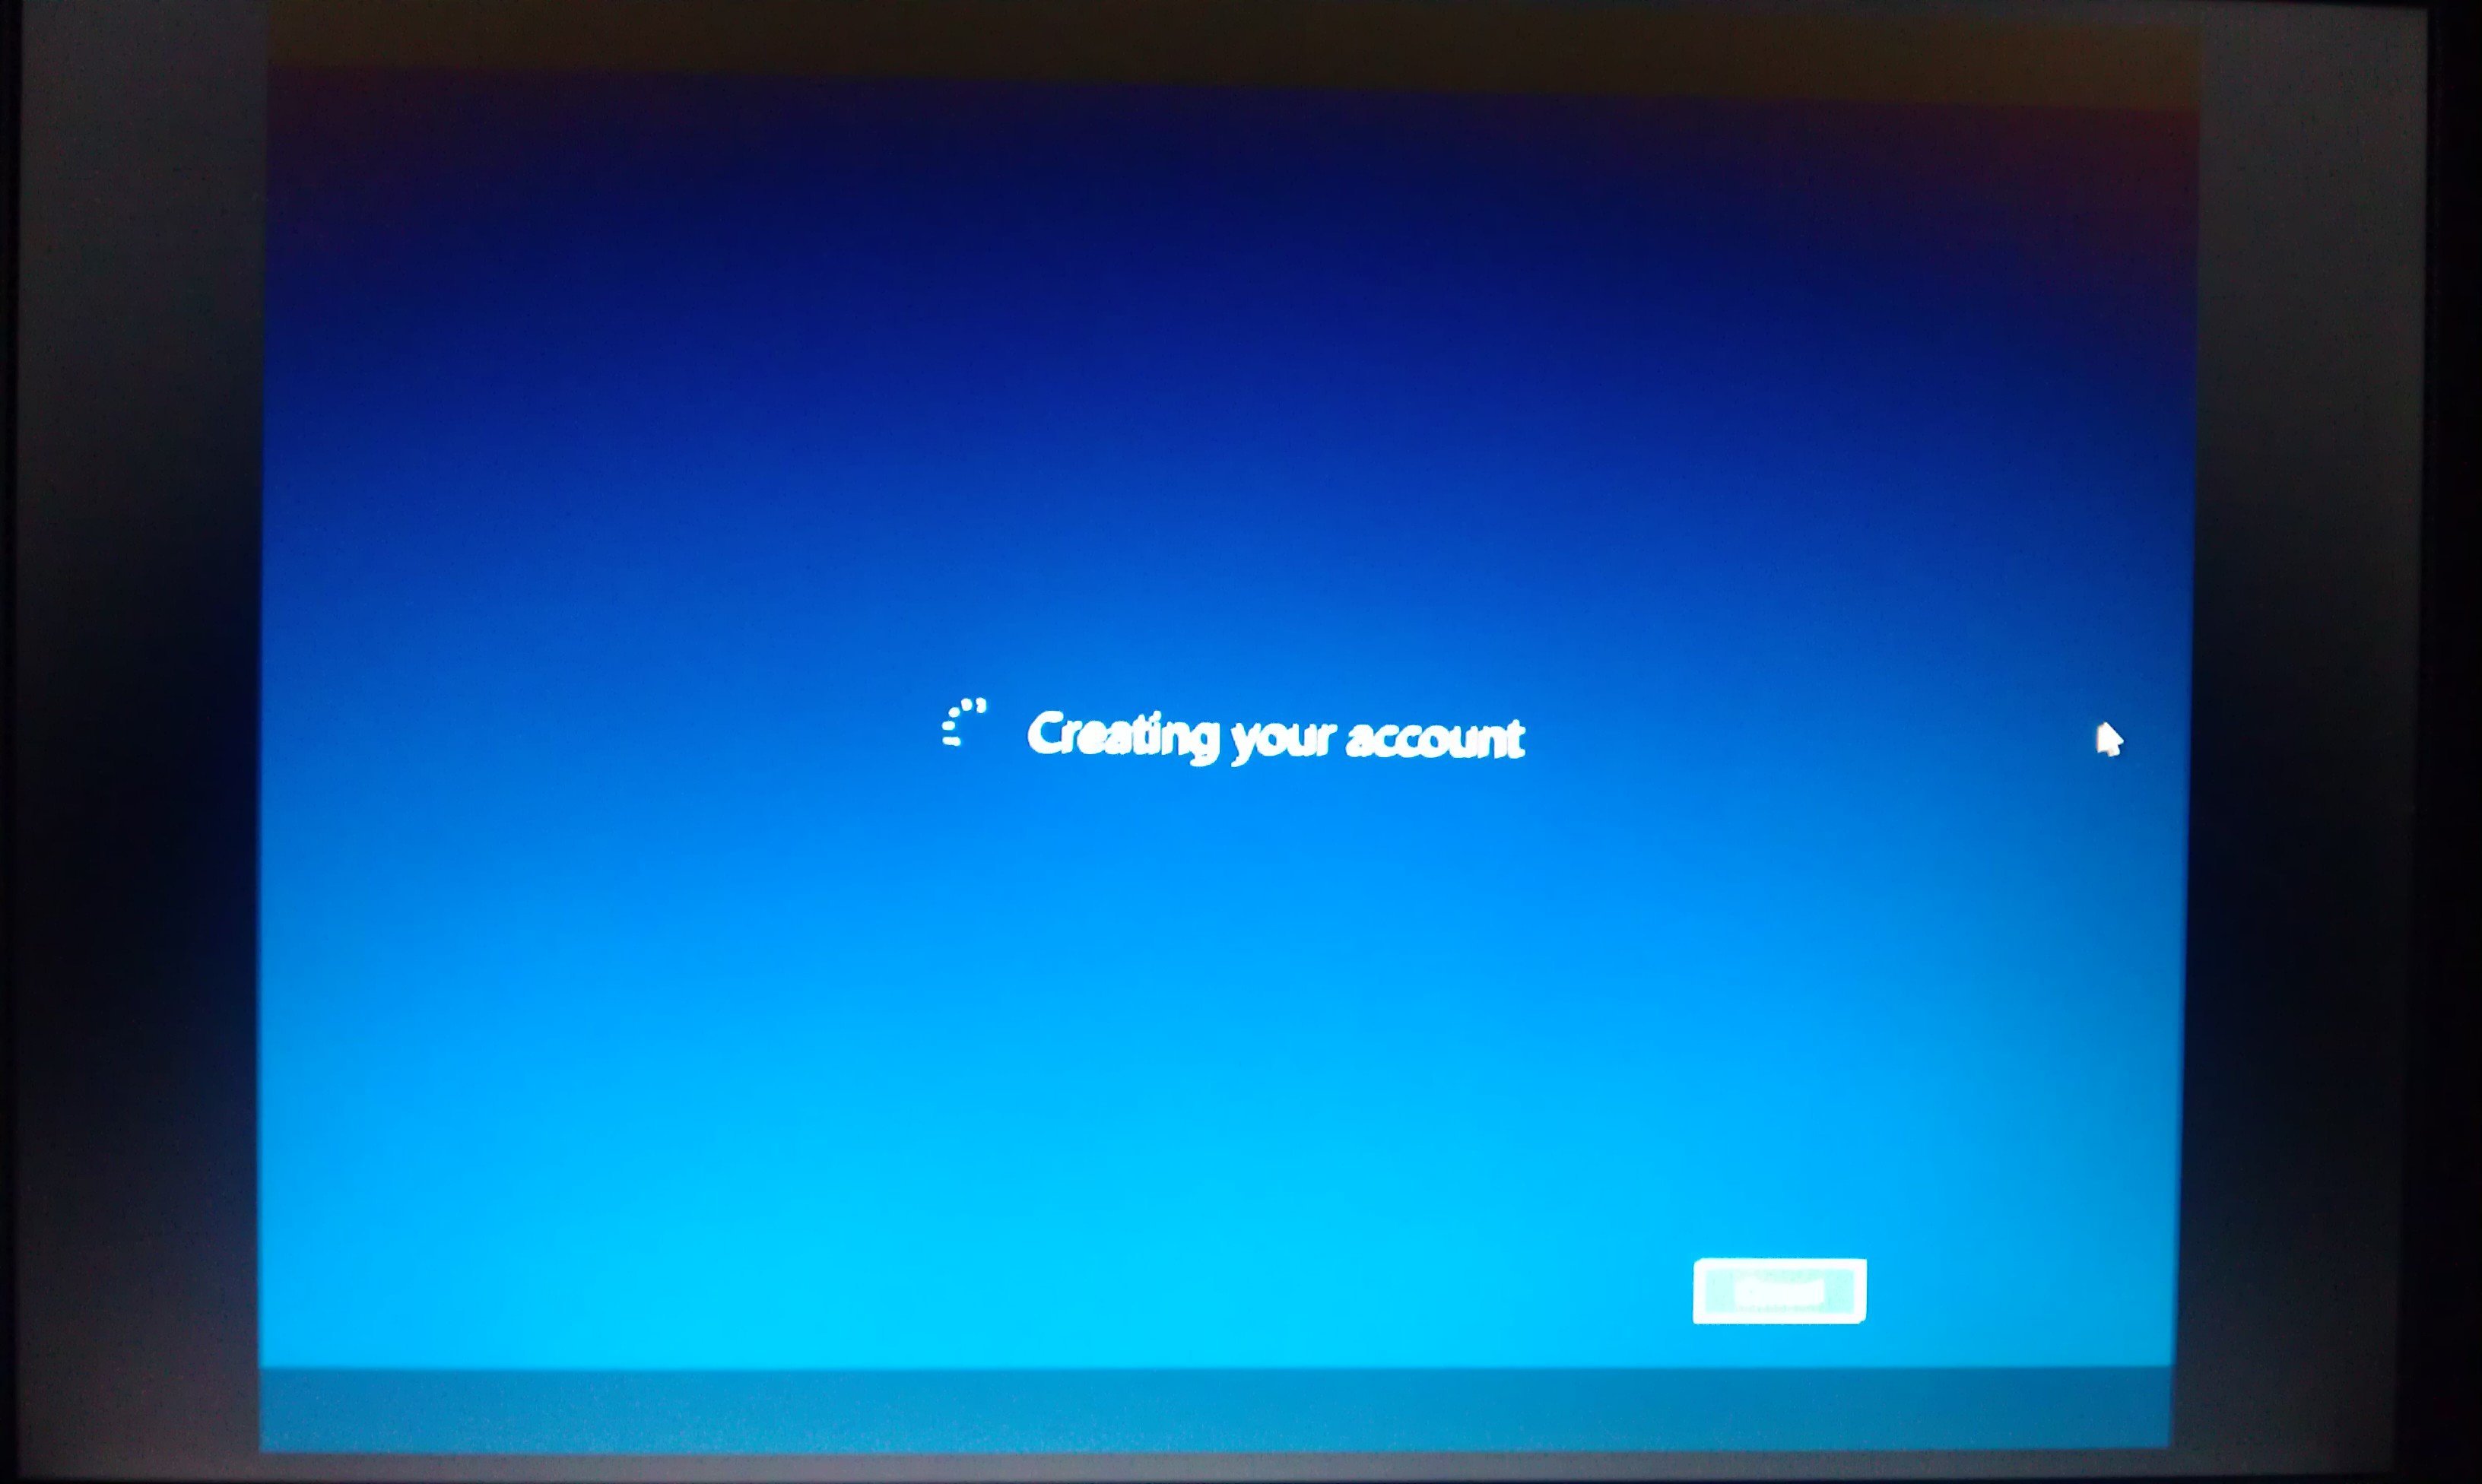
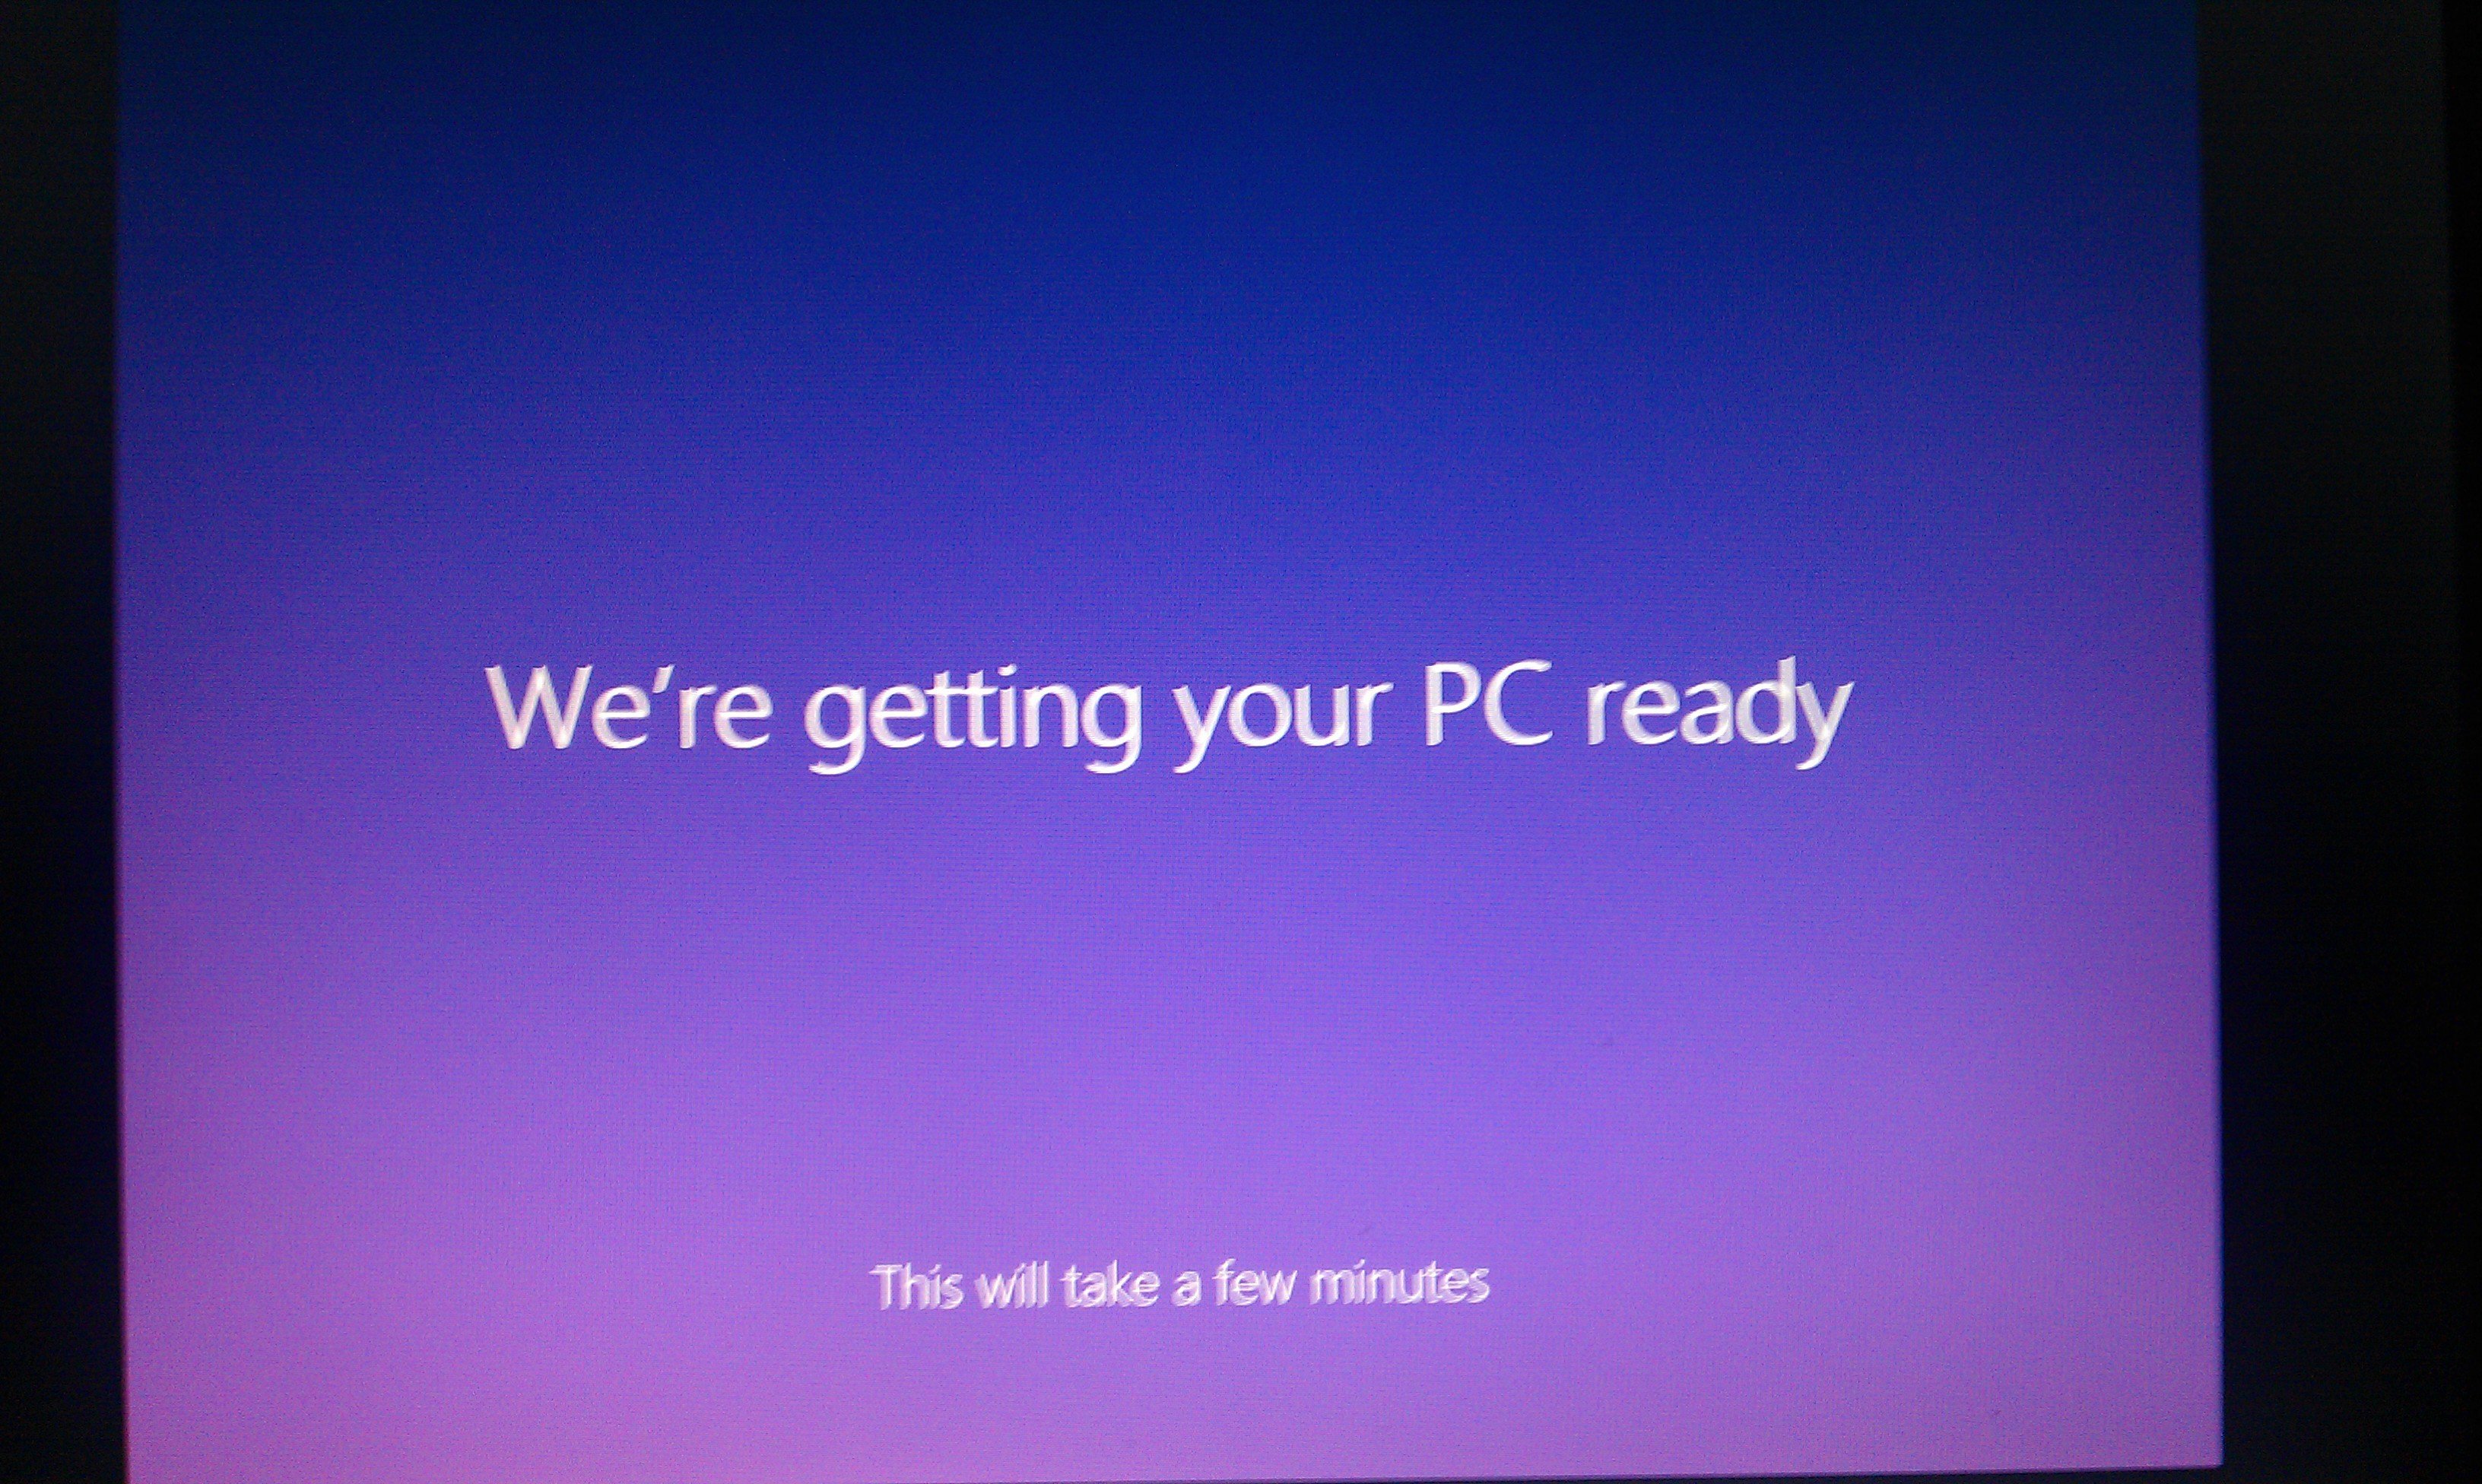
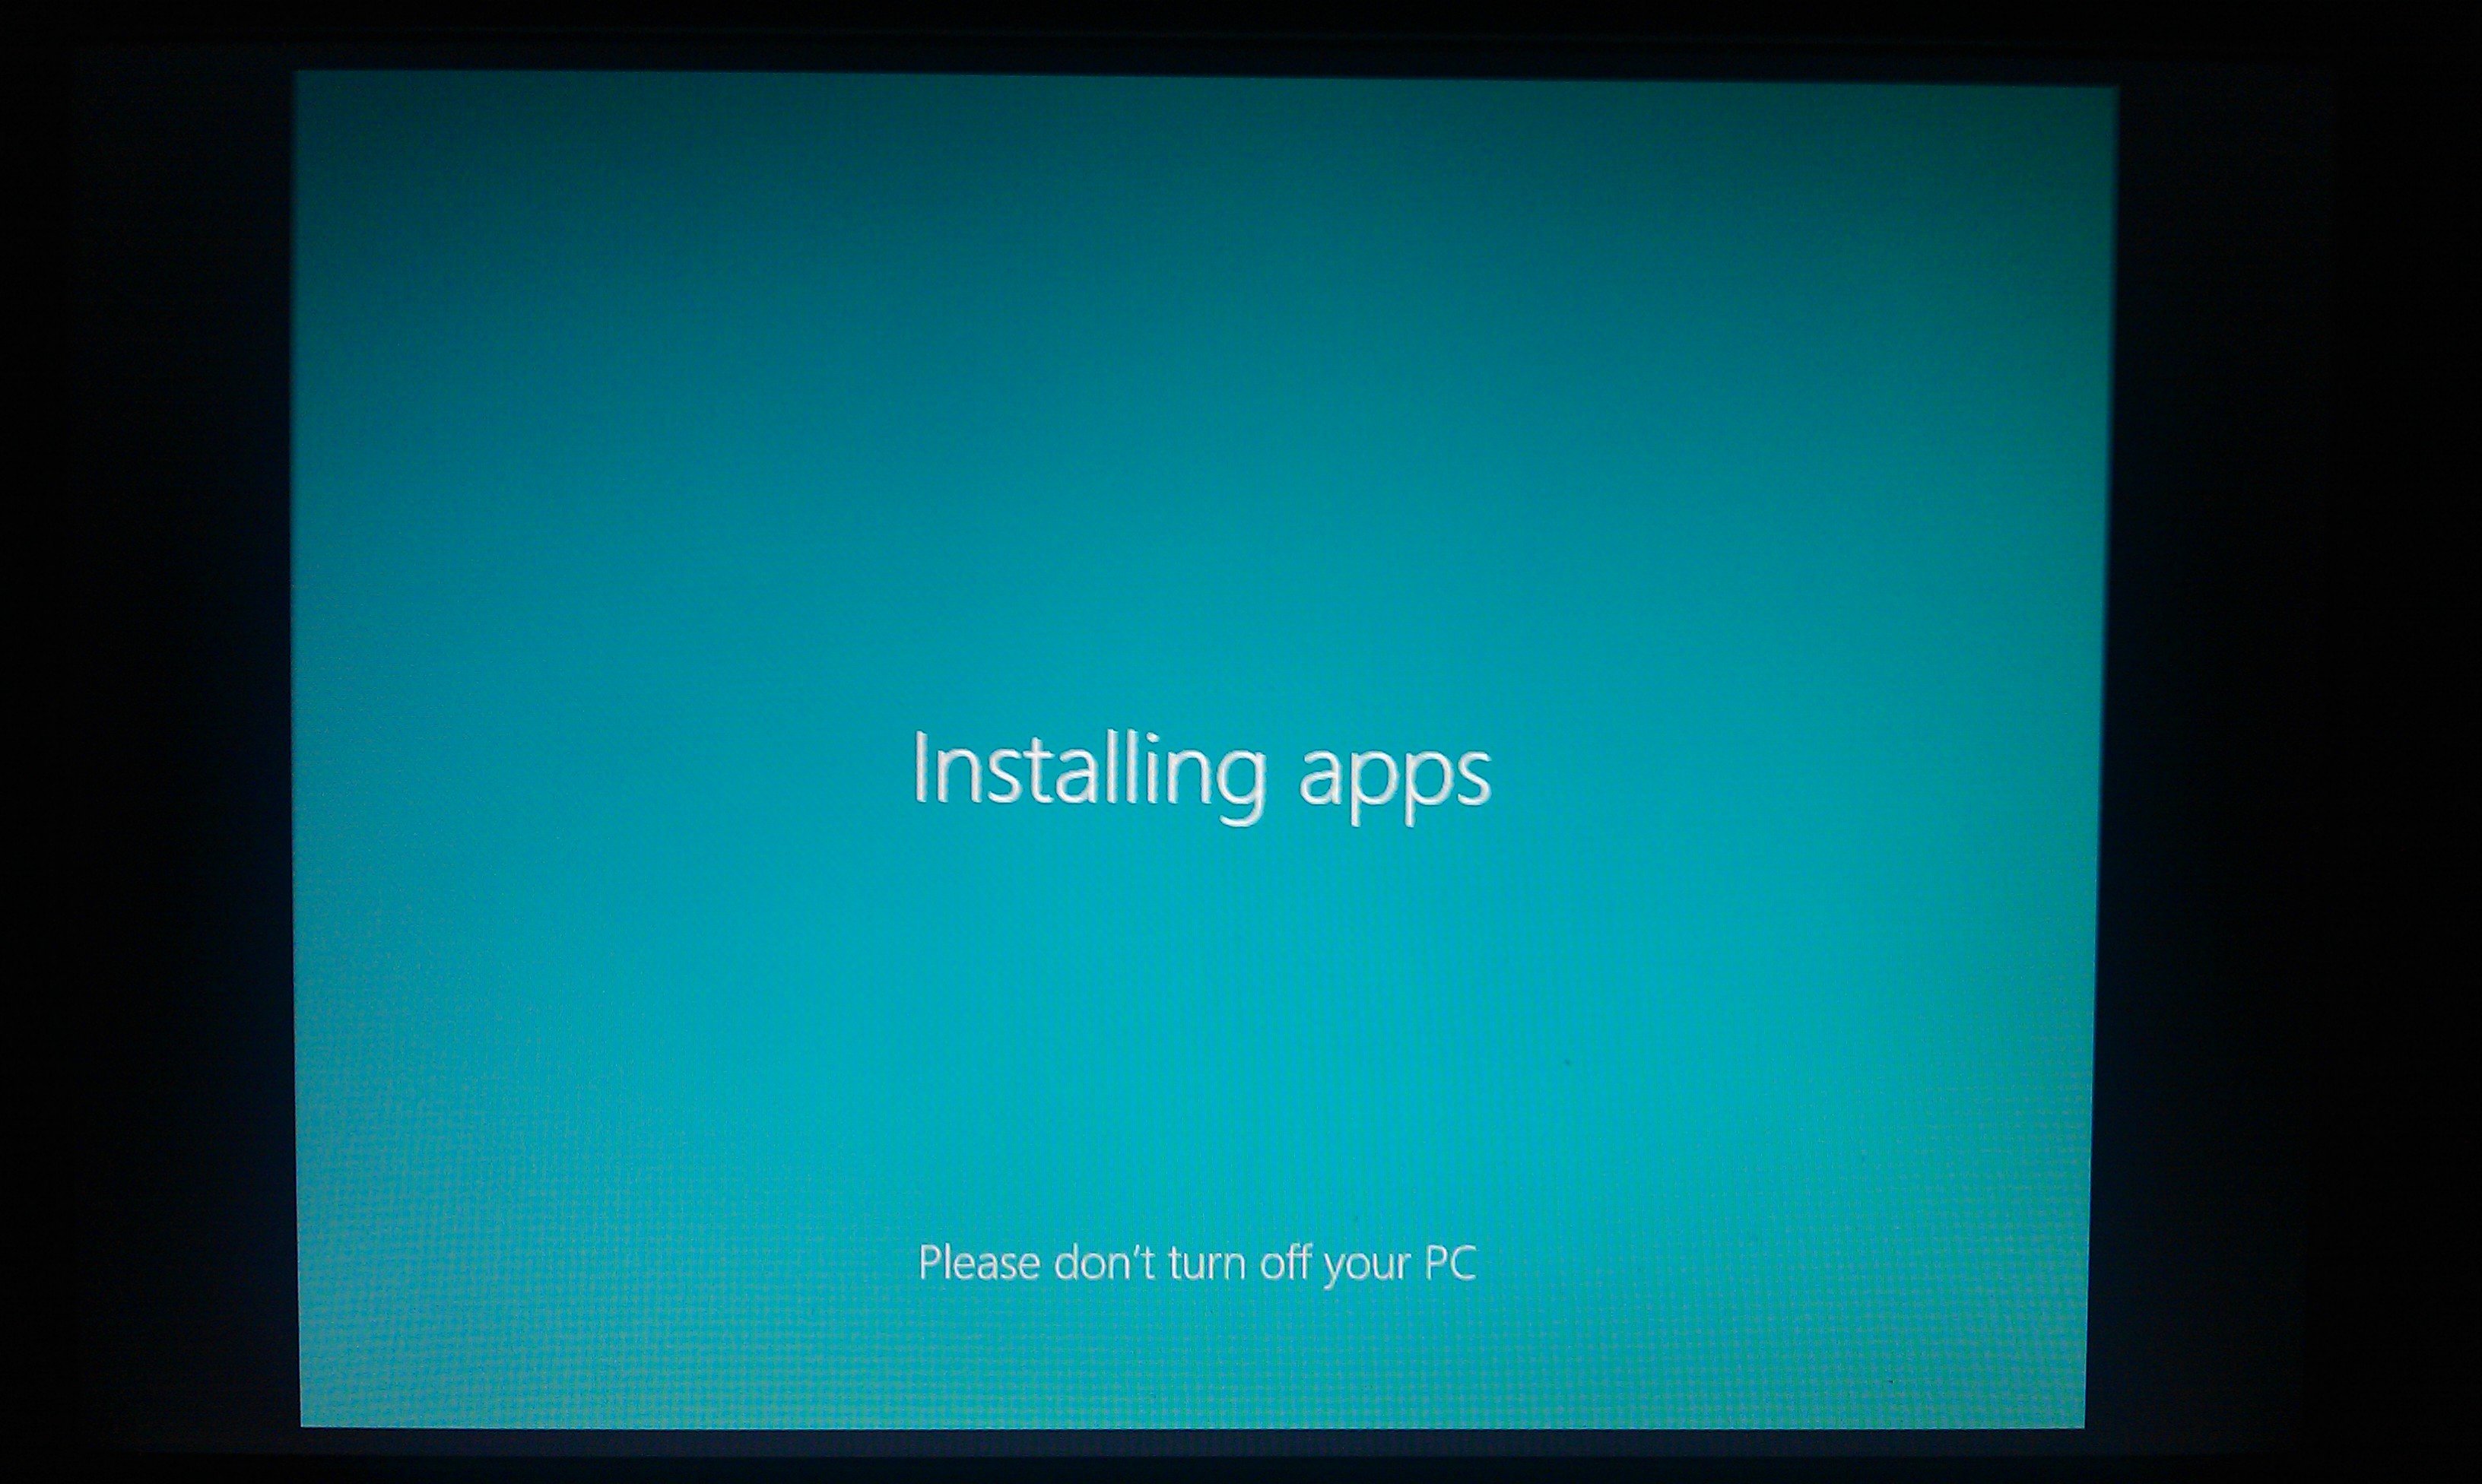
Restore the C: drive to its original factory condition. This includes all factory installed software. The time to complete the restore can take un to an hour depending on the amount of software being restored and the speed of your computer. This program deletes all files on the C: drive.

4. Rescue Data
Rescue Data detects the data which can be saved on the internal disk drive when Windows does not start, and saves this data to an external hard disk drive or removable media.

In case you need to use any of this options, take your time and read all the instructions you find. Be aware of the options that can harm your personal data. Consider the possibility of a backup before any recovery operation.


How to install Windows 8 from USB drive/stick/pendrive

Today was the official launch of Windows 8. This is the newest operating system from Microsoft. People start to grab a copy an install it on their computer. If you are wondering if is possible to do the installation using your USB drive then the answer is yes, for sure. For that you can follow the next steps:

Requirements:

  • Windows 8 DVD or ISO image
  • 4GB (or larger) USB drive
  • A computer running Windows
  • Microsoft Windows 7 USB DVD Download Tool

1. Download and Install Windows7-USB-DVD-tool

[wpfilebase tag=file id=9 /]

2. Create an .ISO image from your Windows DVD
*skip if you already have the ISO image

3. Start “Windows 7 USB DVD Download Tool” and browse to your Windows 8 .iso file.
*Don’t worry about the Windows 7 title. It works fine with Windows 8

4. Insert your USB memory stick/drive/pendrive into a working USB port. From “Windows 7 USB DVD Download Tool” select USB device.

5. Select your USB drive and then click on “Begin copying”

6. A message with erase your USB will pop-up. Be sure to get a copy of your data from the USB and Erase your Device. The software will start copying the required files from your .iso image to your USB drive.

7. Wait for the process to complete and close the window.

Your USB device has now the necessary files to install windows 8. For this, restart your computer and choose the boot from USB option. Follow the further instruction and enjoy your Windows 8.

How to add or remove system icons from Desktop

A couple of icons/shortcuts to the basic system “places” can be easily configured to appear on your Desktop. Therefore, you can have/change or remove the next icons from your desktop: Computer, User’s Files, Network, Recycle Bin and Control Panel.

To do this you have to:

1. Right click on your Desktop image and choose

2. From the left menu, click on “Change desktop icons”

3. Choose which of the icons should be on the desktop and click OK

And then you should have all your desired icons on the desktop.

BOX Sync for desktop is getting stuck at 13% or 14% and eats all the memory (RAM)

BOX.com is an online service for file sync/content management on a cloud based server architecture. Similar with the well know services like Dropbox, Google Drive or Microsoft SkyDrive. BOX offers file synchronization between different platforms like mobile, desktop PC, mac PC, Linux PC or over an online website/platform.

A recent problem has been reported by desktop users of BOX Sync software. There are some cases when the software stops synchronizing the files correctly and is getting stuck with a message “searching your computer for updated files…”. Usually is getting stuck at 13% or 14% and start using all the free RAM memory. The computer is getting slowed down radically, practically impossible to be used.

The solution to this problem is to delete some sync database files.

1. Close BOX application

2. Open a file browser windows and go to C:\Users\Bogdan\AppData\Roaming\Box Sync” (change C: drive with your windows drive if different and “Bogdan” with your username)

3. Delete files:

syncdb.sqlite3
syncdb.sqlite3-journal

4. Check if you tried to sync large files (like 1GB or more). If is the case, remove any large file from the Sync folder and open BOX sync again.

And this should fix the problem. Have fun!

Firefox 16 for Desktop and Mobile (Android) has been released

Firefox is a free user friendly internet browser with multiple integrated security features. Is developed by Mozilla Foundation as a free and open source software. It has a big community behind and is the second (or third by different sources) most popular browser with over 450 million users around the world.

The new updates brigs a couple of new improvements and a series of bug fixes. This includes support for webapps, improvements in some developer tools and some changes in the way “Awesome bar” looks and feel. Firefox is offering the best user experience a browser can have with high level of security, all with minimized hardware consumption.

Download: Mobile (Android) | Desktop: Windows, Linux, Mac
Info: Firefox 16 Release Notes for Desktop | Mobile

Pages:12